Vivia主题使用笔记
saicaca大神的Vivia主题深得我心,但由于文档没有提及相应内容,故在此记录部分模块的使用方法。部分方法对其他Hexo主题同样适用。
切换主色调
打开博客目录的_config.vivia.yml主题配置文件,修改hue的数值即可。1
2# Appearence
hue: 270 # The hue of the theme color (e.g. red: 0, orange: 60, blue: 260, purple: 300, pink: 345)
Vivia主题的Demo右下角有一个Theme Preview模块,你可以在其中选择喜欢的颜色,再将对应的数值替换hue中的值。
设置封面
修改_config.vivia.yml主题配置文件中的Banner模块。
1 | # Banner |
先将enable中的值改为true,再修改url中的路径,将其修改为你要设置的图片的路径。注意,此处的路径是相对于/source而言的,所以最好把封面图片放置于source文件夹内。
设置头像与社交网站链接
修改_config.vivia.yml主题配置文件中的Personal info模块
设置头像等基本信息
1 | # Personal info |
若要显示头像,就将头像图片的路径填写到avatar内。和封面一样,此处头像的路径也是相对于/source的。
设置社交网站链接
1 | # Personal info |
将url内的网址替换为自己的社交网站链接即可。
若不需要某个网站,将其删除或在其前面注释
1 | # - name: Steam |
若要添加其他网站,将其添加于links内,这里以添加Bilibili为例,可以前往这里查找图标,并将icon内的第二个fa-后面的内容修改为你要添加的网站的图标的名称。
1 | links: |
设置分类、标签(其他主题也适用)
修改文章的.md文件开头的Front-matter区域,即文件最上方以 —- 分隔的区域。
1 |
|
新增categories:、tags:,并在里面分别输入想要的分类和标签名称,如
1 |
|
此外,我们还可以修改/scaffolds/post.md文件,在其中添加tag:与categories:,以后新建文章的时候就不用自己手动输入了1
2
3
4
5
6
title: {{ title }}
date: {{ date }}
categories:
tags:
设置文章的预览图片
修改文章的.md文件开头的Front-matter区域,新增photos:,并输入封面图片的路径,具体如下:
1 |
|
注意,此处要填写的路径是相对于/source/的,若要以/source/covers/example.png作为封面图,photos应该填写为covers/example.png。
参考效果: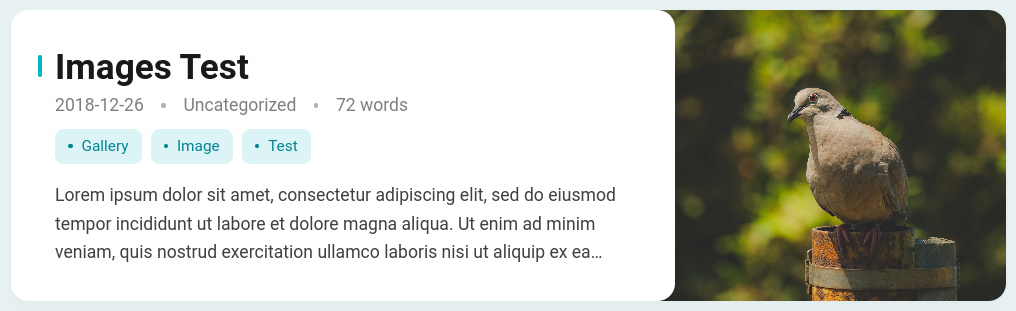
Hexo使用笔记
施工中……